


Before diving into the mechanics of acquiring clay, it's crucial to comprehend its significance. In the world of Grounded, clay is more than just a malleable material—it's the cornerstone of your survival. From crafting sturdy bases to essential utilities, clay is your ally in creating a safe haven amidst the wilderness. Recognizing its importance will guide your resource management strategy as you navigate through perilous terrains.
Step 1: Identifying Clay Deposits
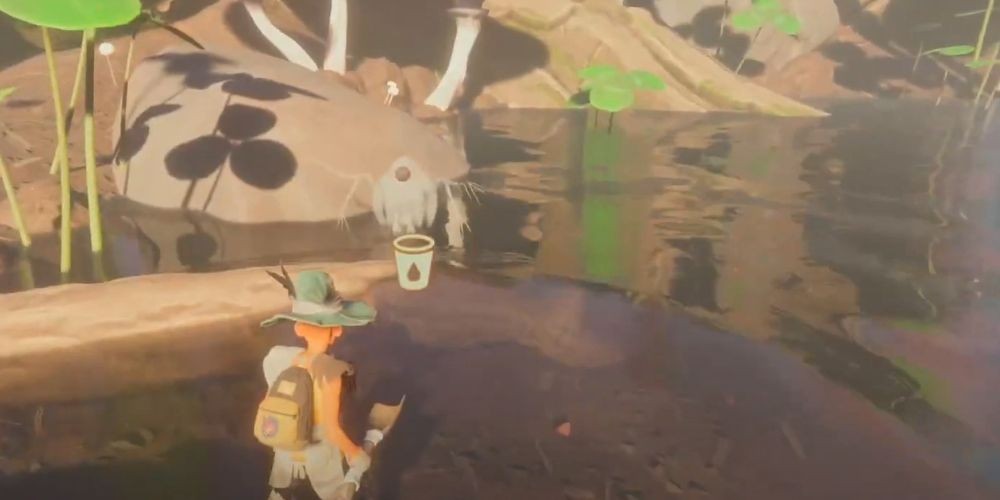
Clay deposits have a shimmering appearance, distinct from other resources in Grounded. These deposits, typically found near water bodies, radiate a subtle yet noticeable light brown sheen. Before you embark on your clay quest, familiarize yourself with these key locations renowned for their abundant clay resources:
- Flooded Zones: The most lucrative spots, often teeming with clay.
- Koi Pond and Pond Surroundings: Water bodies are your best bet for sizable deposits.
- Black Anthill and Dry Grasslands: Lesser-known yet resourceful areas.
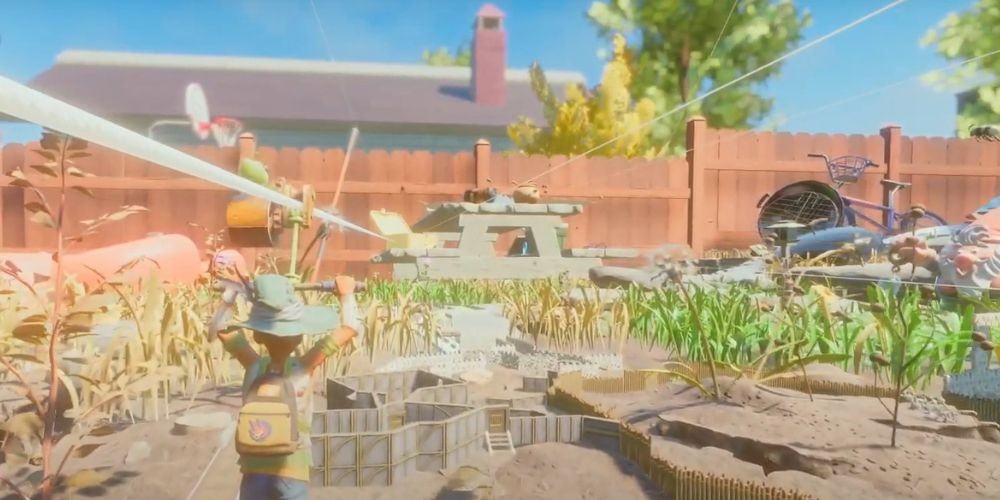
- Shed Surroundings and Woodpile: For those venturing near human structures.
Embrace exploration as you venture into these territories, with your eyes peeled for the distinctive glow of clay deposits.
Step 2: Preparing Your Equipment
Harvesting clay is a task that requires specific tools. The most essential is the acorn shovel — a relatively easy-to-craft item that stands between you and your vital resource. Here's a quick guide on crafting your own:
- Analyze an Acorn: This initial step unlocks the acorn shovel blueprint.
- Gather Materials: You'll need two springs, one acorn shell, and a crude rope (crafted from plant fibers).
- Craft Your Shovel: With the blueprint and materials in hand, craft your acorn shovel to start your clay harvesting journey.
Equip yourself with this shovel, and nothing will stand in your way of claiming what lies beneath those glistening deposits.
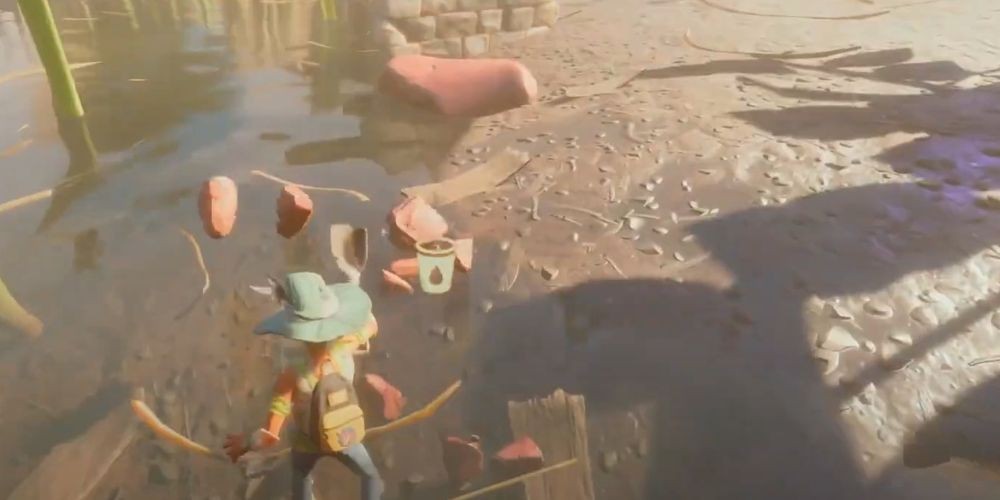
Step 3: Harvesting Clay
Upon locating a clay deposit, approach it with your shovel at the ready. A standard clay node, when broken, yields six units of clay—sufficient for your initial crafting needs. Be strategic in your harvesting efforts:
- Choose Your Nodes Wisely: Opt for nodes in safe areas to avoid unnecessary confrontations.
- Store Wisely: Clay is moderately heavy. Manage your inventory to optimize your haul without being burdened.
This methodical approach ensures a steady supply of clay, fueling your building endeavors without depleting your resources hastily.
Step 4: Utilizing Clay in Crafting
Clay's real value shines in the crafting of structures and essential items. Here's a glance at what you can create with your gathered clay:
- Foundations and Ramps: Clay and pebblet foundations/ramps are foundational for establishing a safe abode.
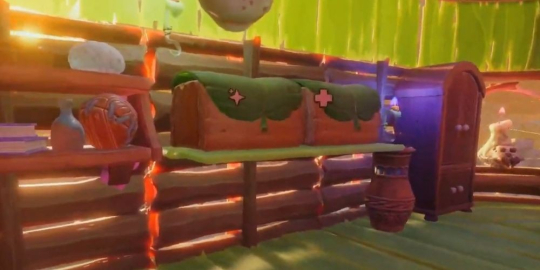
- Utility and Decor: From the spinning wheel to the zipline anchors, clay diversifies your crafting options.
- Structural Integrity: While both clay and pebblet foundations serve similar purposes, opting for pebblet structures offers enhanced durability against insect invasions.
Remember, the sophistication of your base directly influences your survival rate. Strategically incorporate clay into your building plans to craft a fortress that stands tall against backyard hazards.
Final Thoughts
The quest for clay in Grounded is a testament to the game's emphasis on strategic survival. By following this guide, you've now mastered not only the art of locating and harvesting clay but also utilizing it to fortify your presence in a backyard-turned-wilderness. Remember, every piece of clay is a stepping stone toward your survival and dominance in Grounded's expansive world. So grab your shovel, and let the quest begin!